


 A new article and this is quick to inform you that, like many of you have already noticed, Cydia has some new problems which prevent their use. Last week, there had already spoken, saying that the server Saurik had a problem that made it impossible to open and use the application, resolved, however, in minutes.
For now we await new instructions and updates, not delete or change any file access using SSH. Of course, once everything is resolved, we will notify you via a new article.
 BigBoss also now has its own repository and Beta is through this that has made available BossPaper, the application that allows you to change the background of Springboard and proposing an alternative as much light, fast (but limited) for WinterBoard. After an initial version, 0.91, which was quite unstable sending the iPhone in SafeMode, BossPaper was promptly updated to 0.92 solve all problems.


Launching the application can enter the Folder to select / add the folders from which to draw backgrounds for use on the Springboard. If we decide to select a folder with many images, we see that the background of Springboard will change every respring.
Images via Dock can eliminate the background of the dock, set the semi-transparent, and more than halved again.
See Slideshow & Transitions allows us to set the animations to the closure of applications or time set. That is to say that when you emerge from a home by clicking on the button, the background of the springboard will change with the next image in this folder (or pack) selected at the beginning.


Clicking on Transitions can set the animation desired, looking by clicking on a symbol.
So the promises well, because complements of nice features and never seen before. However, the use of this beta is not recommended for new iPhone users, because it could create some problemino solved via SSH.
BossPaper To install simply open Cydia and add the BigBoss repository beta found in the Changes section.
TechRestore has achieved a very nice video in stop-motion animated, disassemble the iPhone 3GS with a sequence of pictures. Here's the result:
In the video, are highlighted all the individual components of the new Melafonino and the work seems so easy that would be the desire to try
What do you think?


 The repository of biteSMS Beta has been released the final version of the new 4.2, which is moved in the Community Sources as soon as completed translations. The novelty compared to 4.1 and many are listed below:


* Added a new "Marks QuickReply as Read", which allows you to mark as read the messages that appear in pop-up.
* Added a switch in QuickReply that lets you mark messages as read or unread.
* The counter SMS now can be reset automatically every day (especially useful for those who have the Vodafone Infinity SMS or any other promotion that offers a number of free messages each day.)
* Added the display of smileys in QuickReply
* Fixed some bugs in the flow of pop-up on QuickReply
* Fixed many other bugs, including one not allowed to climb the credits correctly by QR and QC
* The "Send" button in the English version will be greater as the counter of characters;
* The faces will be visible in the popup lockscreen preview;
* A new function, "International biteSMS use", which if active, always use the network and claims to send the SMS to international numbers considered;
* Ability to sign messages (like in Mail);
* With the app open, via a double tap on 'SMS, you can choose to delete it or forward it;
* You will be limited to 7 lines, the growth of the text vertically, making it easier scrolling;
* Improve the area for the closure of QC or QR (will be easier to click the X);
* Overall speed increased;
* In the settings, the QR will have a menu separately;
* Arrange the problems of incompatibility between Cylay and Cyntact;
* Fixed a display bug when biteSMS is open, the phone is locked;
* Some little bugs in the QC;
* The option "Auto-Switch" will operate in two modes quick (QR and QC);
* Fixed some bugs in the writing of the MMS;
* In QuickReply you can click on the text long to call the function "Copy"
* In QuickReply you can click a long or double-click on the text of the incoming message to retrieve the "Trash" which will delete the message.
* Added a new configuration in the settings that allows you to enable or disable smileys
BiteSMS found in Cydia through the repository: http://bitesms.com/cydia/beta4.2
Instructions on how to unlock your 1.1.2 OTB and 1.1.3 OTB iPhone!
These directions assume that you have already jailbroken the individual firmware you would like to be on. This works from 1.1.2 or 1.1.3 firmware! You can pinpoint directions on how to do that here:
Also, you can simply pursue these directions if you are on a 4.6 BL iPhone. This method that your iPhone came with 1.1.2 or 1.1.3 Out of the Box. PLEASE MAKE SURE YOU DON'T DO THIS ON A 3.9 BL IPHONE!
IMPORTANT*: You must have enough disk space loose on your iPhone to install this package. Otherwise Installer may show in public a beach ball and afterward crash to the Springboard. You deficiency space loose on your ROOT file system. Your root file system is come seal 267M-300M in size. Its NOT the 7.3G file system!
Finally, you deficiency BSD Subsystem Installed from Installer app (System Category). This bulk probable will already be installed particularly if you did the 1.1.3 soft update...
If you have 1.1.3 OTB pursue the degrade link above to degrade and jailbreak your iPhone.
Step One
Add iClarified to your Installer sources.
Step Two
Press the Settings icon on your Springboard.
Step Three
Press to decide General from the Settings list.
Step Four
Press to decide Auto-Lock from the General Menu.
Step Five
Press to decide Never from the Auto-Lock Menu.
Step Six
Press the Home button to return to your Springboard. Press the Installer icon to launch Installer app.
Step Seven
Press to decide the Install tab at the bottom of the screen.
Step Eight
Press to decide iClarified from the items of Categories.
Step Nine
Press to decide Geohot Unlock(1.1.2, 1.1.3) from the items of Packages.
Step Ten
Press the Install button at the seal right hand corner.
Step Eleven
Press the many red Install button that appears.
Step Twelve
You will receive identify that process will take 5 minutes and you must have Auto-Lock set to Never. If you have already done this afterward you can press the many OK button.
Step Thirteen
You will suppose a relative standing of Starting the unlock.... You will also lose Wi-Fi during this time. The phone will continue on this relative standing for a small proportion minutes.
Step Fourteen
You will afterward receive a Notice expression "Your iPhone has now been unlocked!". Press the many OK button!
Step Fifteen
You will be returned to the Categories Menu. Press the Home button to return to your Springboard.
These are commands for Windows on how to Activate and Jailbreak an iPhone that was conveyed with the 1.1.2 firmware (OTB, OOB, OTTB) and the 4.6 bootloader. These commands do not unlock your iPhone to use on other carriers. They do even so sanction you to fit requests for paid job and in general use your iPhone as an iPod touch.
If you are not definite if you have the 4.6 bootloader then review the consecutive number of the iPhone. If the 4th and 5th digits are 45 or higher then you have the new bootloader and not able to unlock. Follow this tutorial until an unlock is found. As before long as a programs unlock is liberated I will send commands so review back.
**NOTE**: If you have opted to unlock your iPhone with TurboSIM or a thing comparable this is the lead you should chase before penetrating your TurboSIM.
**NOTE** (Wednesday, December 20th, 2007 12:00):
Here is a table of ideas for those still having troubles with the jailbreak server(Step 22). These ideas have not been confirmed as it has perpetually worked for me. However, they are still possibly worth a try if the server is giving difficulty. If every one has a idea to add then satisfy let me know.
- Try to do a hard reset on the iPhone and try again
- Make definite you have a tough wireless signal
- Try the jailbreak with your iPhone still bound to the computer and iTunes
- Try employing http://www.jailbreakme.com alternatively of http://jailbreakme.com
- Disable wireless encryption on your network
- Use a Wi-Fi binding without proxy
**NOTE** (Tuesday, December 18th, 2007 23:00):
I have sent a video of what the jailbreak method should view like. I expect this will clear up some of the steps if any kind is not understood.
DOWNGRADE TO 1.1.1
For this you will need iBrickr 0.91, iTunes 7.5, and iPhone Firmware 1.1.1
- Update iTunes to get the current version.
- Download iBrickr 0.91 from: here or here
- Download iPhone Firmware 1.1.1 from: here
Step One
Connect your iPhone to your PC and launch iTunes
Step Two
Press and retain Home and Power button of your iPhone at the matching time. Once the video screen turns pitch black, distribute the power button but retain on keeping the Home button until Apple logo modifications to the repair screen. Note: The video screen may in addition just stay black. This is normal. Just retain the household button till iTunes identifies the iPhone.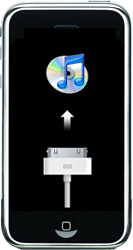
Step Three
iTunes will then identify an iPhone in repair mode.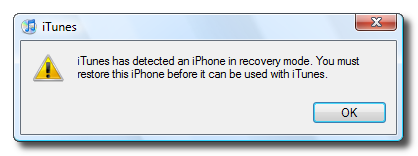
Hold down the Shift key and snap Restore.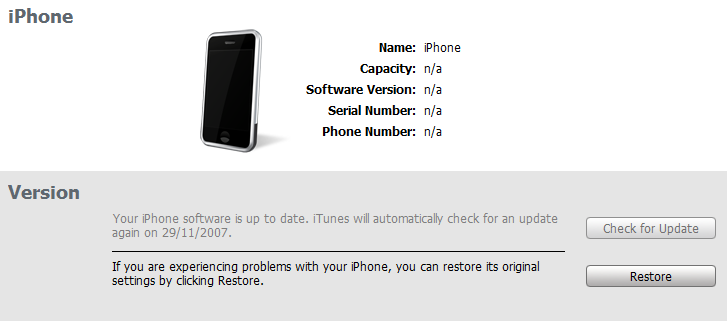
A dialog window will show requesting you to pick the firmware to repair to. Select the 1.1.1 firmware we downloaded beforehand (iPhone1,1_1.1.1_3A109a_Restore.ipsw)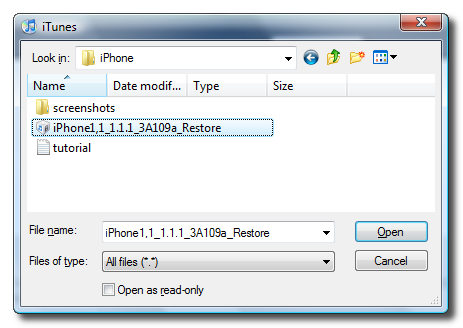
At the end of the repair you will get Error 1015. This is okay. Simply snap the Ok button.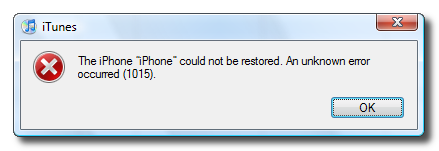
Another popup will show telling you your iPhone is in recovery mode. Click the Ok button.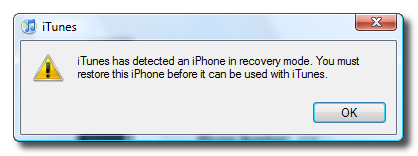
Step Four
Exit iTunes by picking Exit from the File menu. Press Control+Alt+Delete on the keyboard. Select to Start Task Manager.
Click to pick the Processes tab from the Windows Task Manager window.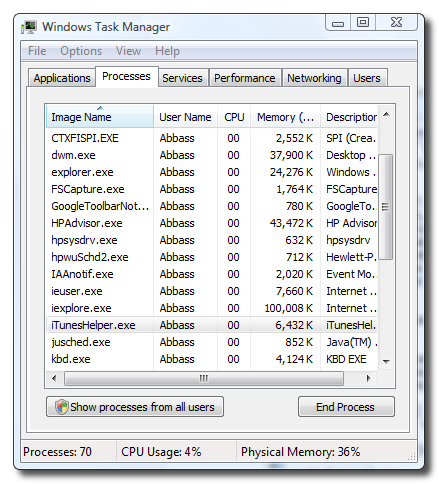
Select iTunesHelper.exe from the table of means and then snap the End Process button. A popup will show requesting you to approve the end process. Click the End Process button from the popup.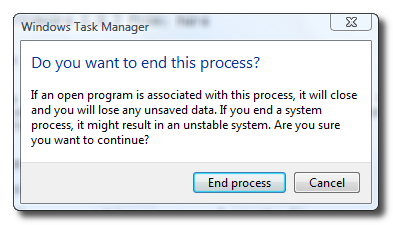
You can now close Windows Task Manager by snap the X at the apex right of the window.
Step Five
You will discern your iPhone is still in recovery mode. To depart recovery mode launch iBrickr.exe which you downloaded earlier.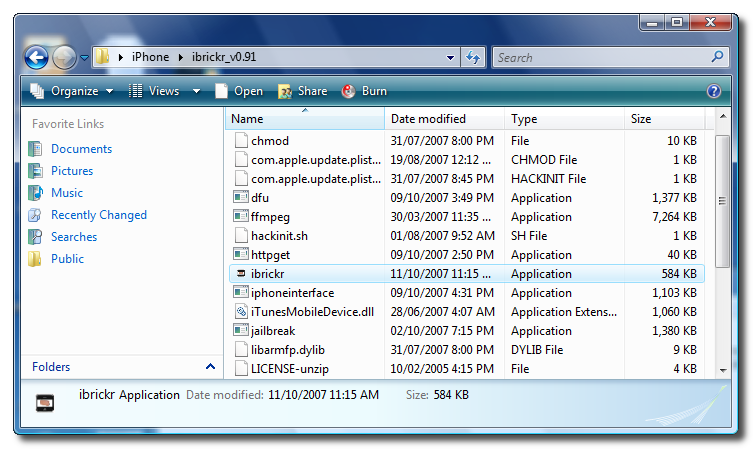
Click the Boot the phone link.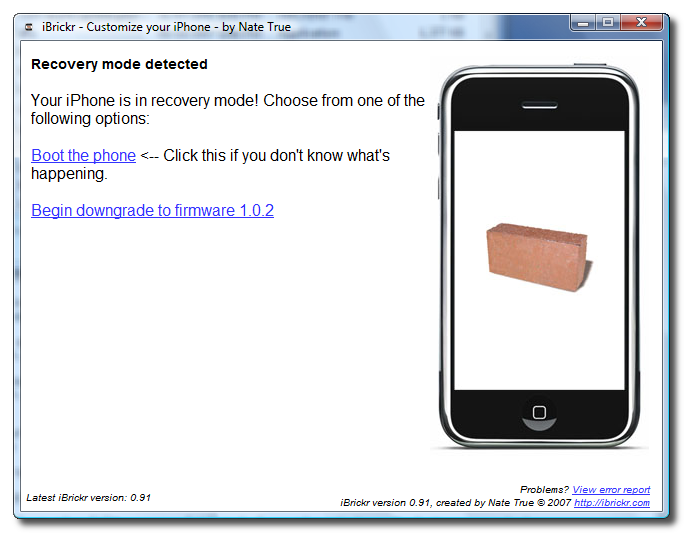
iBrickr will declare Please hold back while iBrickr attempts to mend your phone.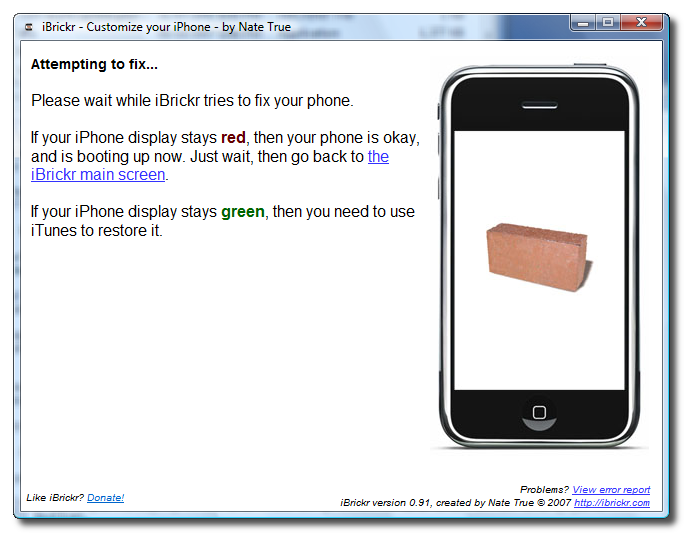
The iPhone will reboot and show clearly the Activate video screen again!
You can now close iBrickr.
JAILBREAK 1.1.1
Step One
At the "Activate iPhone" video screen move the slider to the right for calamity calling.
Step Two
Dial "*#307#" then press the Call button.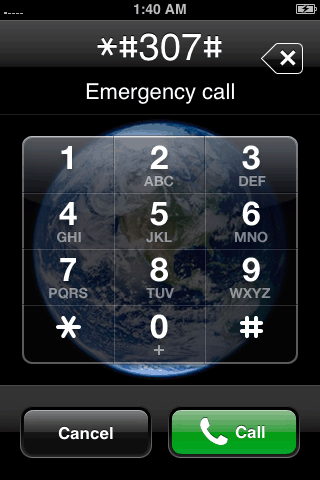
Step Three
You will learn the handset call itself. Use the back missile to clear the number you just enter. Now dial "0" then press the Call button.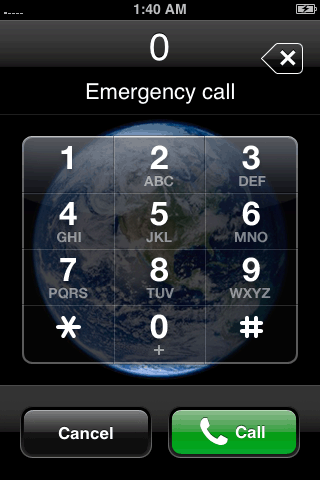
Step Four
Now you will be competent to observe the incoming call. Press the Accept button.
Step Five
Now press the Hold button to put the call on hold.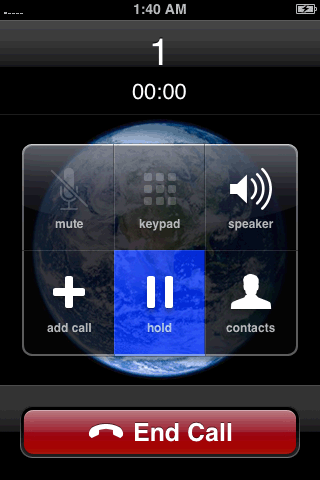
Step Six
The handset will call itself again. This time press the Decline button.
Step Seven
We now are shown the keypad again. Click the acquaintances tab at the bottom. We are now submitted with an empty acquaintances menu. Click the plus(+) button to add a new contact.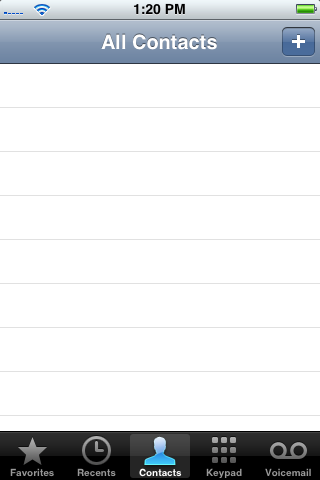
Step Eight
Press Add New URL.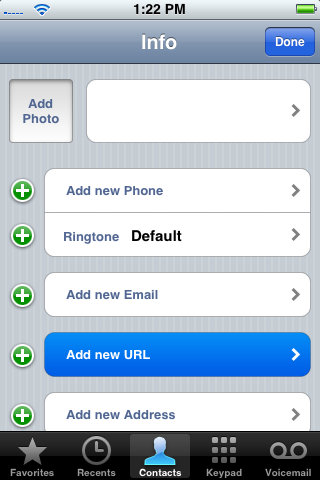
Step Nine
Input prefs: as the url then press the Save button.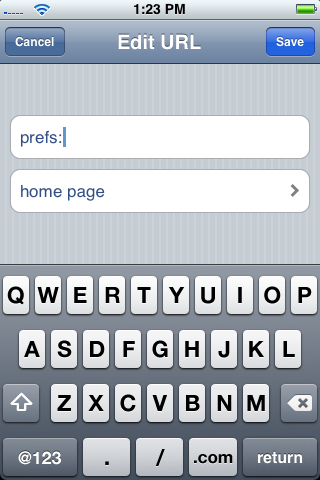
Step Ten
Press Add New URL again.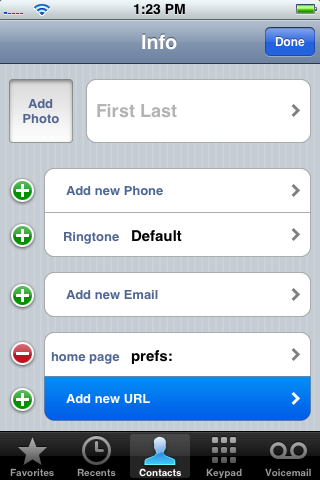
Step Eleven
Input http://jailbreakme.com as the url then press the Save button.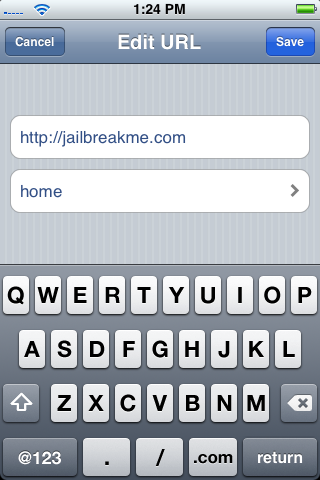
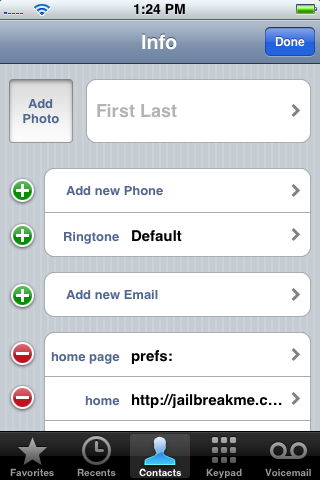
Step Twelve
Now in the acquaintance scenery you will observe the 2 urls. Press the prefs: url.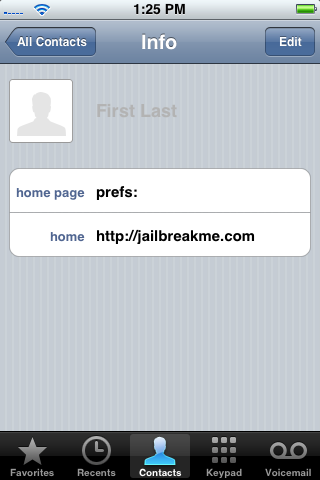
Step Thirteen
This will carry up the iPhone's Settings Menu. Select your wireless web from the Wi-Fi category. Press the Settings button at the apex left to depart back to the Settings Menu.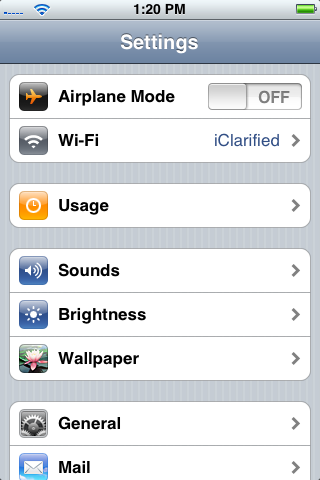
Step Fourteen
Select the General group from the Settings Menu. Then pick the Auto-Lock subcategory.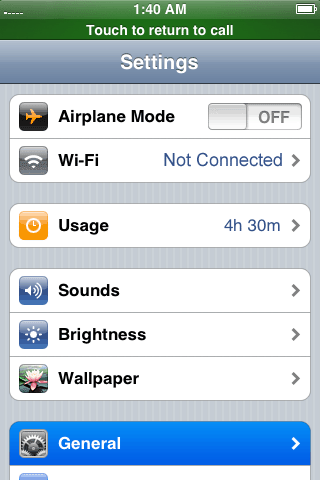
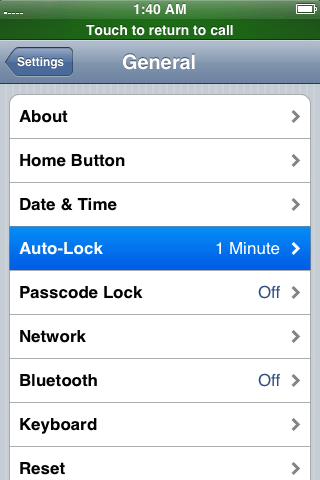
Press to pick Never from the table of Auto-Lock times.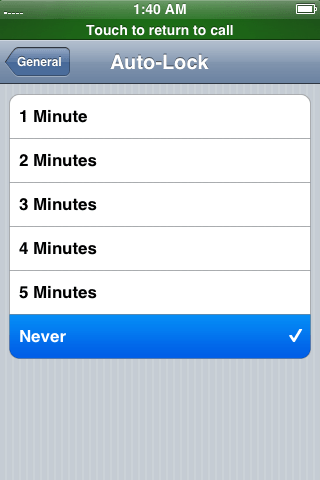
Press the Settings button at the apex left to revisit to the surroundings window.
Step Fifteen
Press the Home button. At the "Activate iPhone" video screen move the slider to the right for calamity calling.
Step Sixteen
Now dial "0" then press the Call button.
Step Seventeen
Now you will be competent to observe the incoming call. Press the Accept button.
Step Eighteen
Now press the Hold button to put the call on hold.
Step Nineteen
The handset will call itself again. This time press the Decline button.
Step Twenty
We now are submitted with our acquaintances menu. Press to pick the acquaintance we added.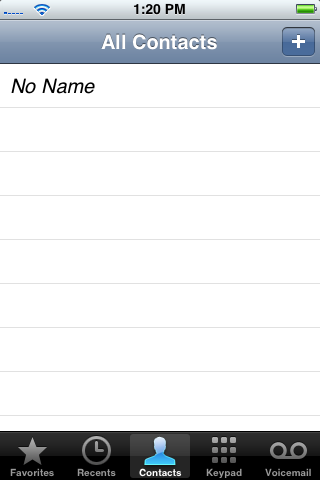
Step Twenty One
Press the http://jailbreakme.com url. This will open Safari and take you to jailbreakme.com
Step Twenty Two
Scroll down to the foundation of the piece of paper and press Install AppSnapp.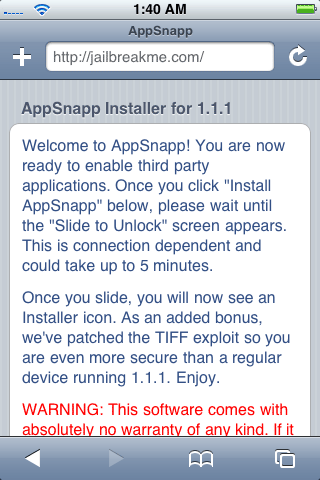

Phone will revisit to activation video screen, but don't fear, just wait. iPhone should automaticly restart after virtually a minute. When the handset commences over, it should no longer declare Slide to calamity, but rather Slide to Unlock. This means it was successfull!
I've had a small number descriptions of the calamity slider not modifying to the unlock slider. The best idea so far has been to retain the iPhone bound to the computer and assure its identified in iTunes. Otherwise it looks like to work if you retry fitting AppSnapp till it works. Don't recognise what the subject is accurately (maybe a server consignment issue) but if it doesn't work straight away then try again.
UPGRADE TO 1.1.2
- Download the Jailbreak 1.1.2 parcel from: here.
- Download the 1.1.2 Firmware from: here
Step One
Launch Installer from your springboard.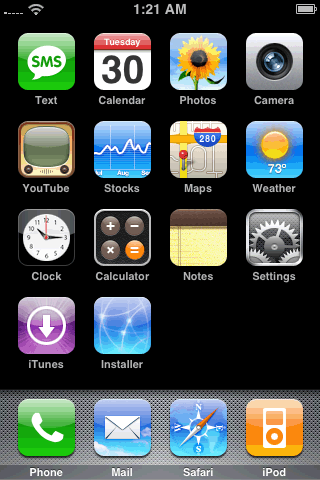
Select Install from the tabs at the bottom.
Scroll down and pick Tweaks (1.1.1) from the table of categories.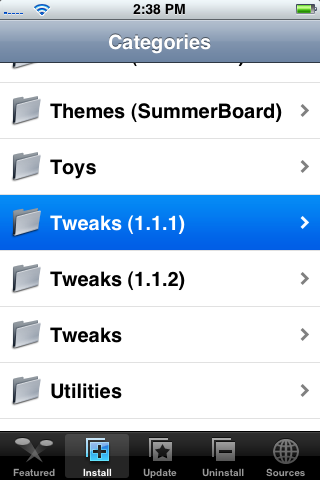
Press to pick OktoPrep from the table of Packages.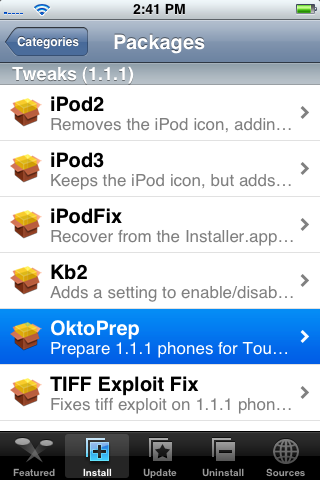
Press the Install button at the apex right and corner of the screen.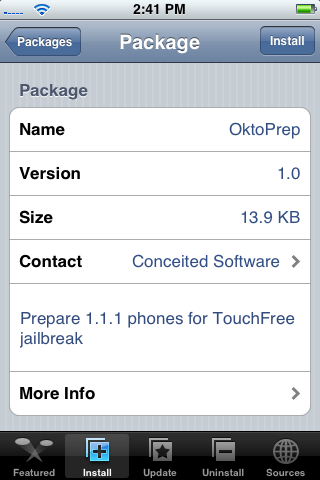
Press Install over to commence the installation.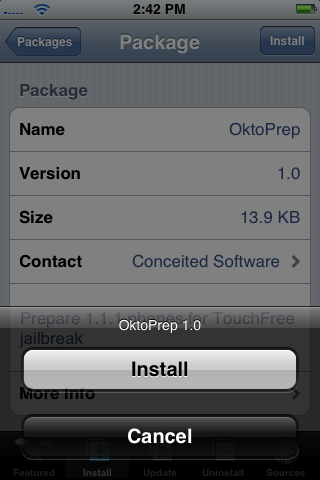
When OkPrep finishes you will be notified that it is now all fine to redevelopment to 1.1.2. Press Ok.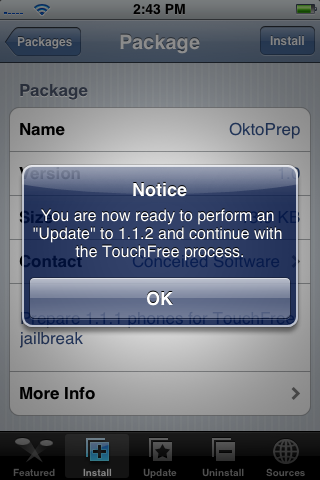
Step Two
Reboot your handset by keeping down the Sleep/Wake button for three seconds. Move the power slider to right to power down. Then press the Sleep/Wake button over to power back on.
Launch iTunes.
Name your iPhone if it requests then snap the Done button.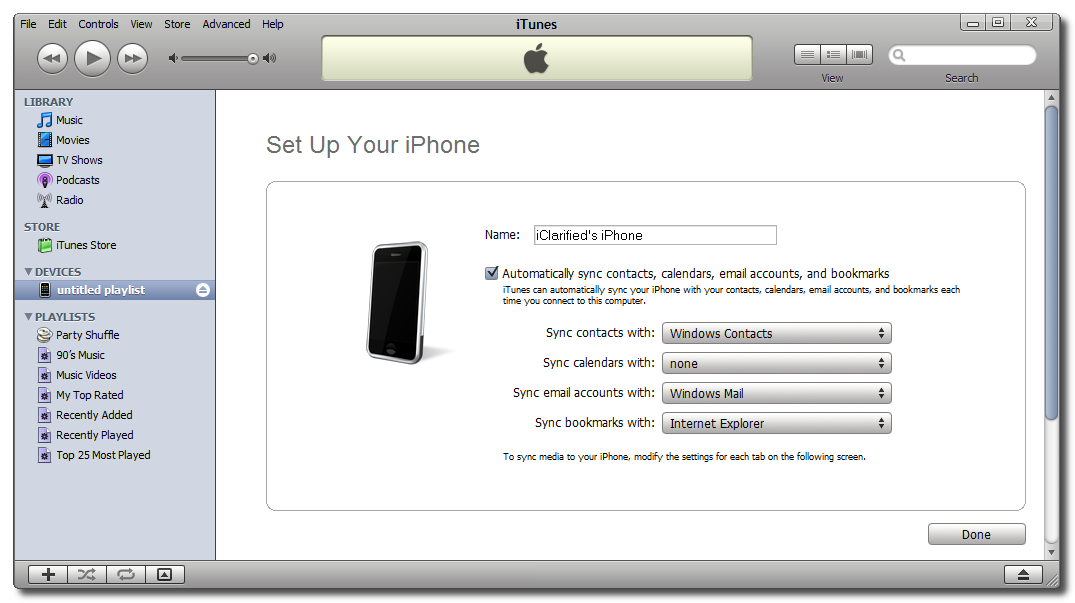
Step Three
Reboot your handset by keeping down the Sleep/Wake button for three seconds. Move the power slider to right to power down. Then press the Sleep/Wake button over to power back on.
Step Four
Launch iTunes.
Name your iPhone if it requests then snap the Done button.
Step Five
If you get a dialog window requesting you to renew to 1.1.3 then snap the Don't Install button.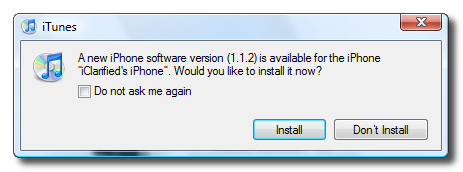
(NOTE*: The photograph presentations 1.1.2 because i don't have an photograph for 1.1.3 yet)
Hold down Shift and snap the Update button to renew to 1.1.2
A dialog window will show requesting you to pick the firmware to repair to. Select the 1.1.2 firmware we downloaded beforehand (iPhone1,1_1.1.2_3B48b_Restore.ipsw)
Once whole a dialog packing box will show letting you recognise you have renewed successfully.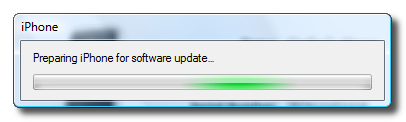
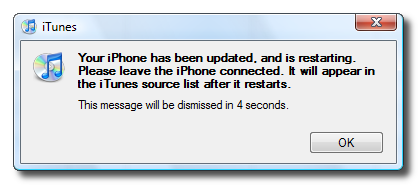
When it finishes updating, the iPhone will have been restarted. The new calamity slider and bind to iTunes photograph will be on the iPhone.
Step Six
Close iTunes then extract the 1.1.2-jailbreak.zip we downloaded earlier. A folder will be extracted called 1.1.2-jailbreak.
Double snap windows.bat from in this folder to start the jailbreak. NOTE***: Make definite you have the current variety of Java installed. You can find it here: http://www.java.com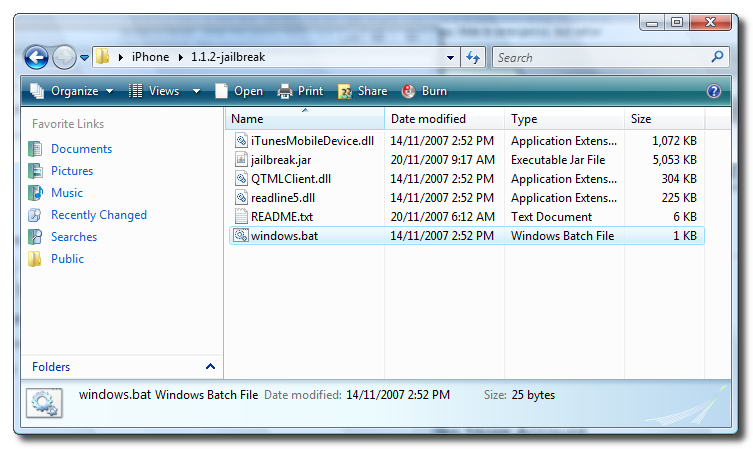
Step Seven
A popup will show requesting you to move into the wished for password and if or not to empower SSH. Make definite you review to empower SSH and then press Jailbreak!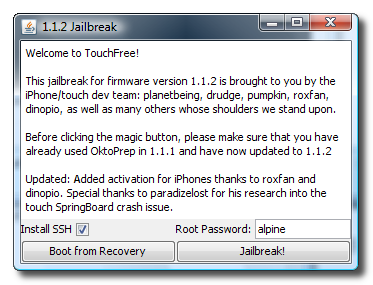
Whens it wrapped up a popup will show letting you recognise the jailbreak has been successful! During this method the handset may be rebooted a small number times.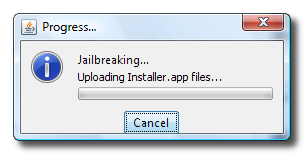
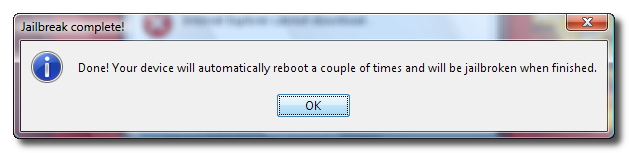
You have an jailbroken iPhone!


